 PDF to Word
 PDF to Excel
 PDF to HTML
 PDF to Text
 PDF to PDF/A
 PDF to PowerPoint
 PDF to JPG
 HEIC to JPG
 PDF to PNG
 OCR Converter
 Word to PDF
 JPG to PDF
 Excel to PDF
 PDF Converter
 PNG to PDF
 PowerPoint to PDF
 DICOM to PDF
 Merge PDF
 Split PDF
 Delete Pages
 Rotate PDF
 Rearrange PDF
 PDF Editor
 Crop PDF
 DOCX Editor
 Edit PDF Text
 Compress PDF
 Sign PDF
 Redact PDF
 Fill in PDF Forms
 Flatten PDF
 Annotate PDF
 ASK PDF
 PDF Compare
 PDF Viewer
 Office Viewer
 Text Compare
 Validate PDF/A
How to Wrap Text in PowerPoint
Jun 27 2023
Productivity

4.5 min
Share this post
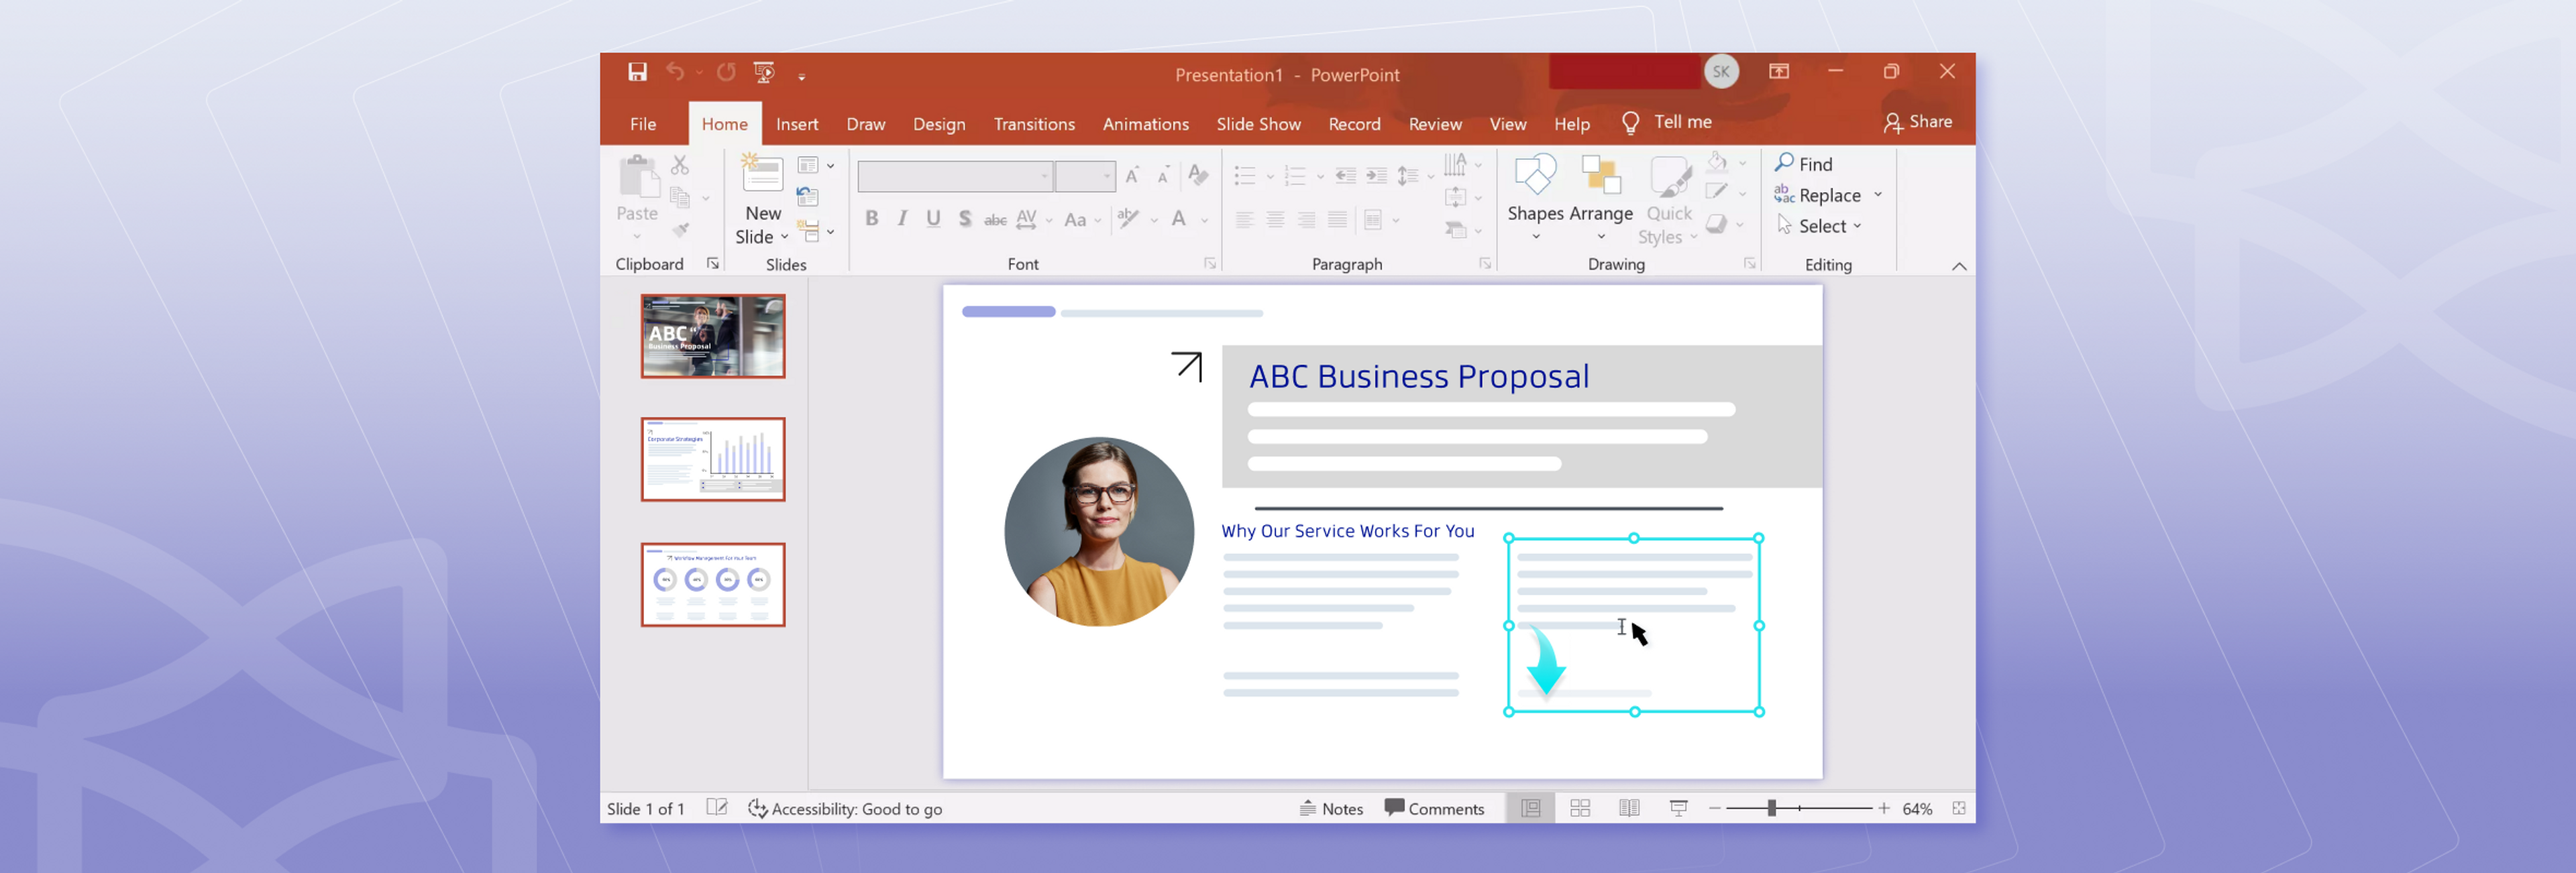
When it comes to PowerPoint presentations, visuals are everything. Having your text and images laid out properly is crucial to getting your point across quickly and effectively.
Yet, aligning and wrapping your text around objects in PowerPoint isn’t as easy as it sounds.
But don’t worry! We have a few tips to help you wrap text in PowerPoint perfectly.
How to wrap text around a shape in PowerPoint
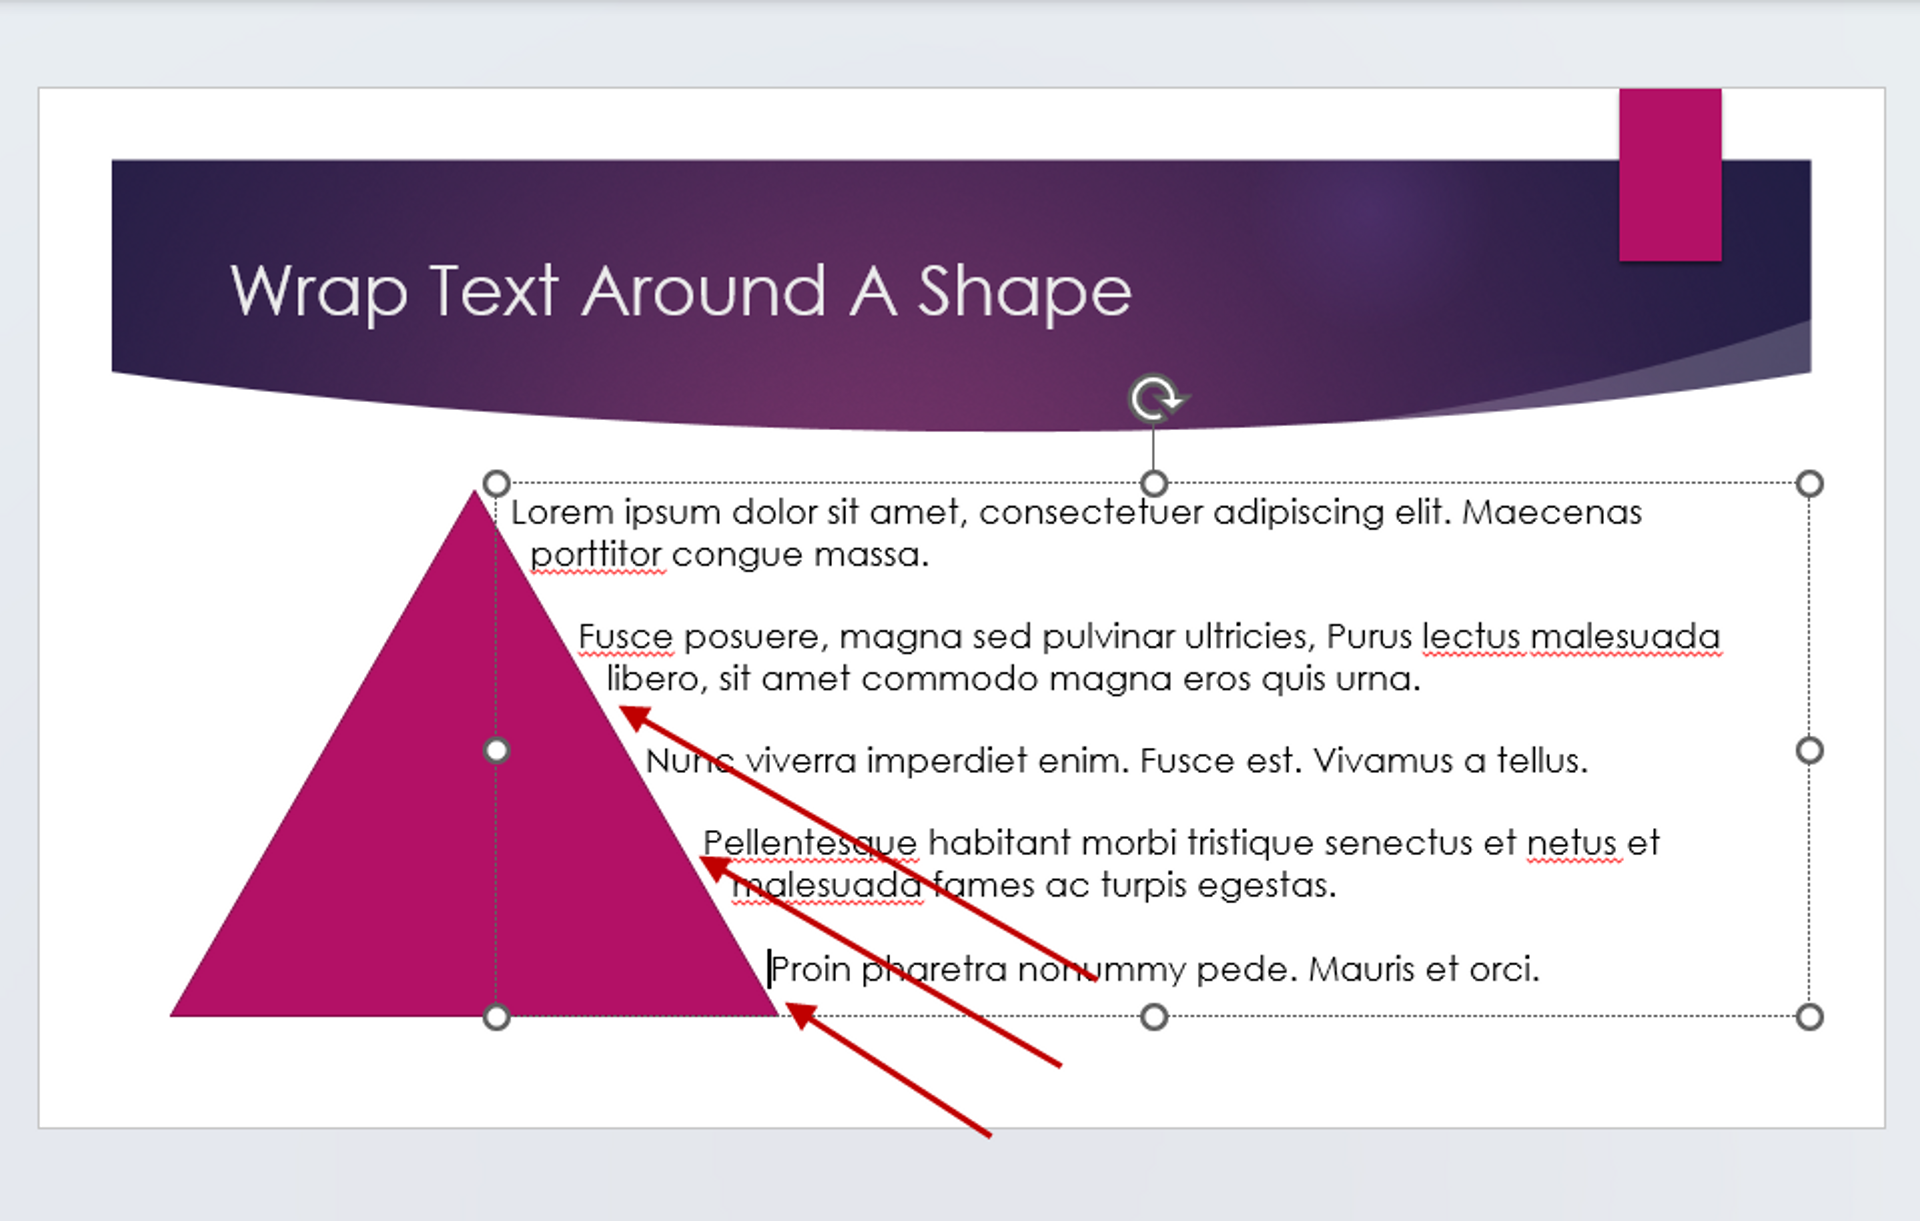
The easiest way to wrap text around a shape is to do it manually. This can be a great approach for educational material, as students respond well to visual learning material, which means pairing objects and images with explanatory text.
Apply the following steps to irregular shapes to frame text around the shape line by line, mimicking a text wrap in PowerPoint.
Manually wrap text as follows:
1. Right-click on the shape (object) in PowerPoint.
2. Select Send to Back.

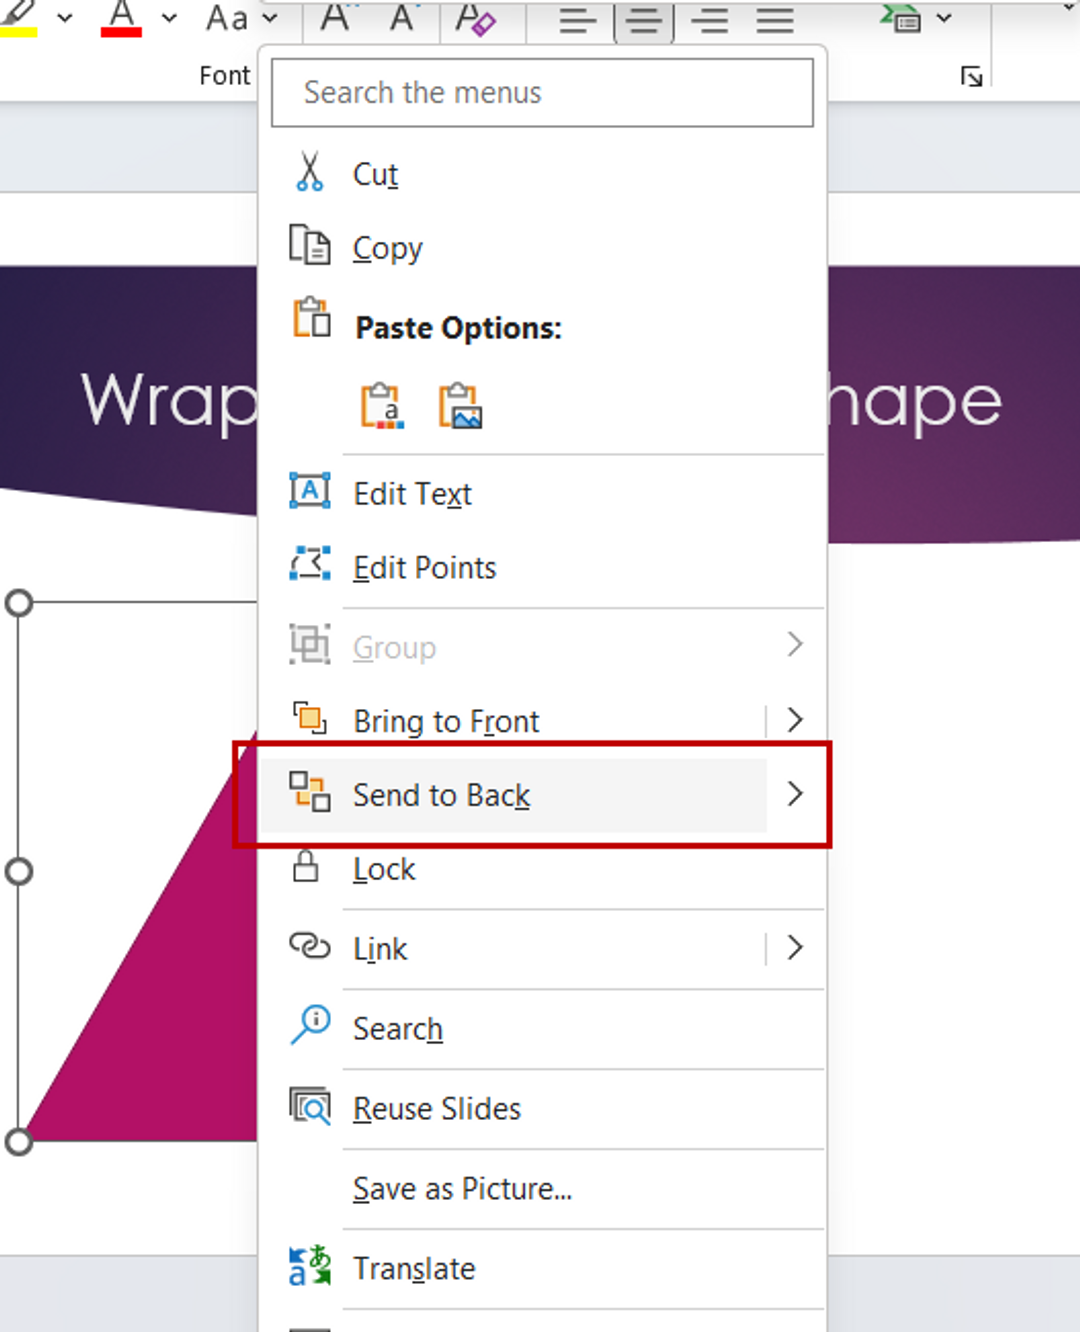
3. Go to Insert > Text Box and add a text box next to the object.
4. Type text anywhere in the text box. As you go, use the space bar or the back key on the keyboard as many times as you need to move the text so it is flush to the shape.

5. Repeat step 4 for each line of text you need.
How to wrap text around a table in PowerPoint
In some cases, you may need slides that summarize numbers and data in tables. Looking to add a footnote, citation, or commentary about your table? Or maybe you want to surround the table with a short paragraph of summary text?
To quickly wrap your text around a table:
- Use a wide text box to wrap text above and under the table.
- Use a narrow box to place text on the left and right side of the table.

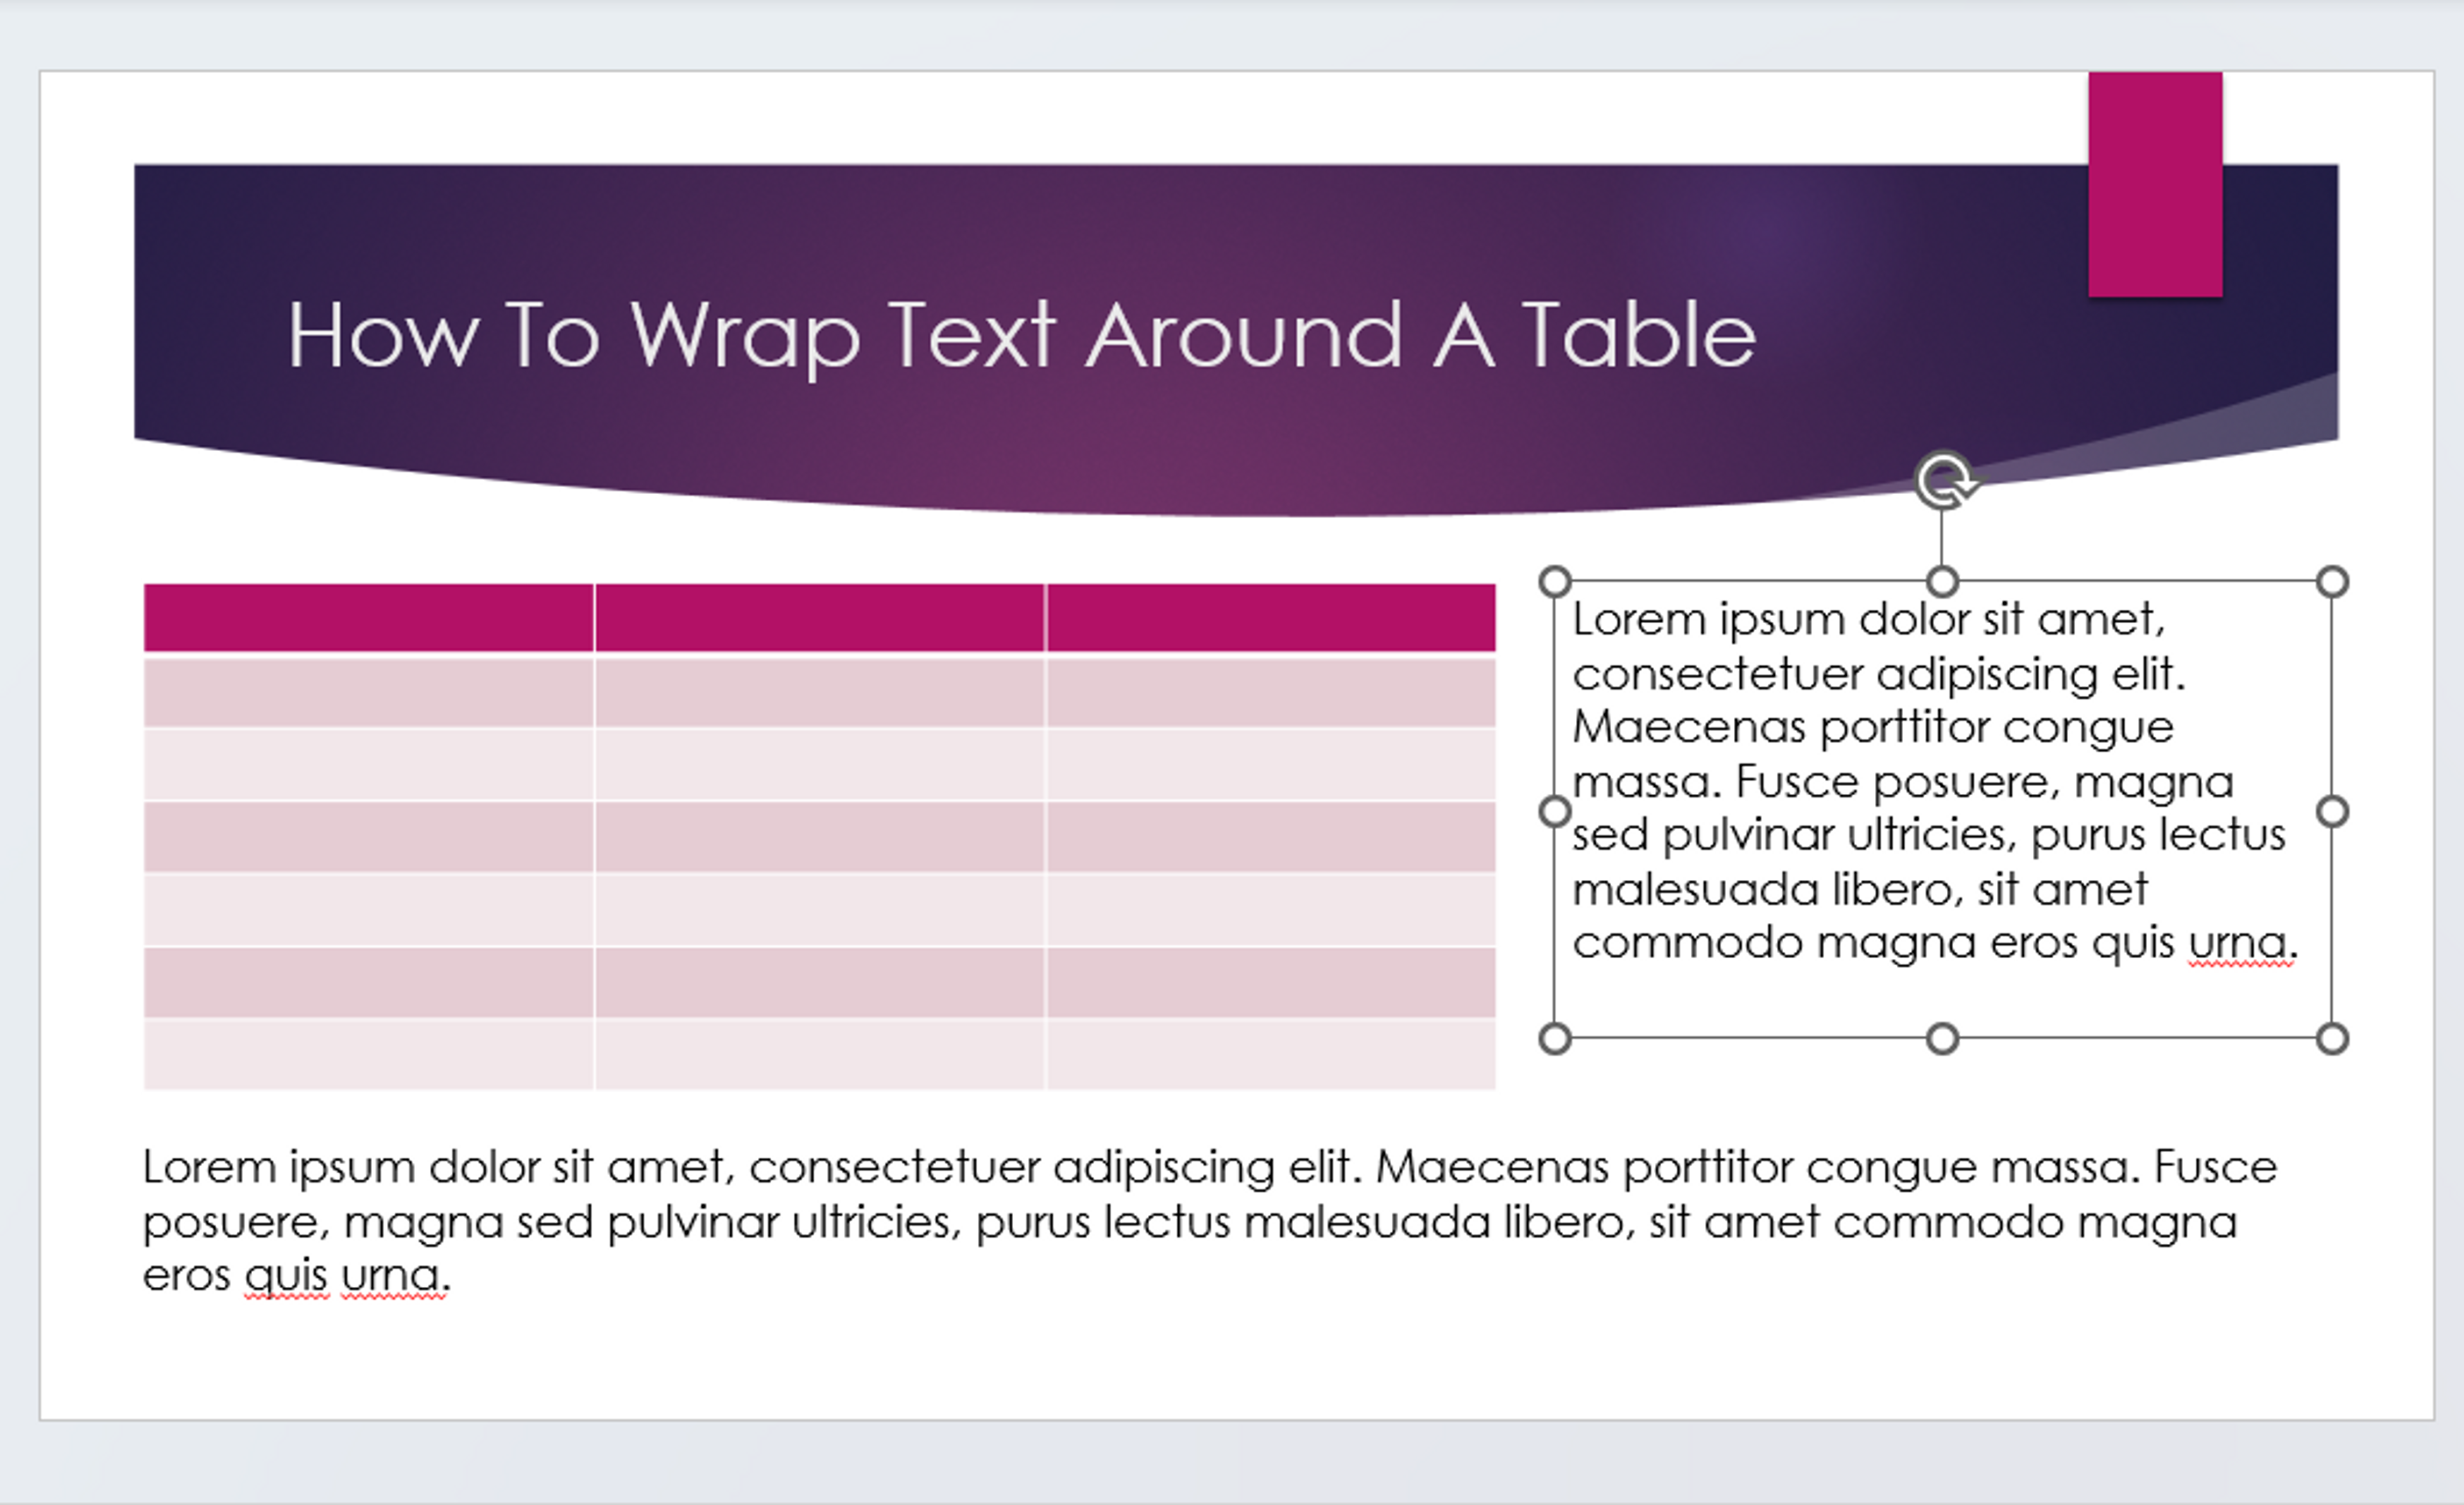
To wrap text around table shapes, drag the text box and align your text by pressing the space bar or back key on the keyboard.
Change the size of the text box by dragging it left or right, up, or down. Text boxes can wrap text inside the box by default in newer versions of PowerPoint, so you don’t have to worry about aligning text in text boxes.
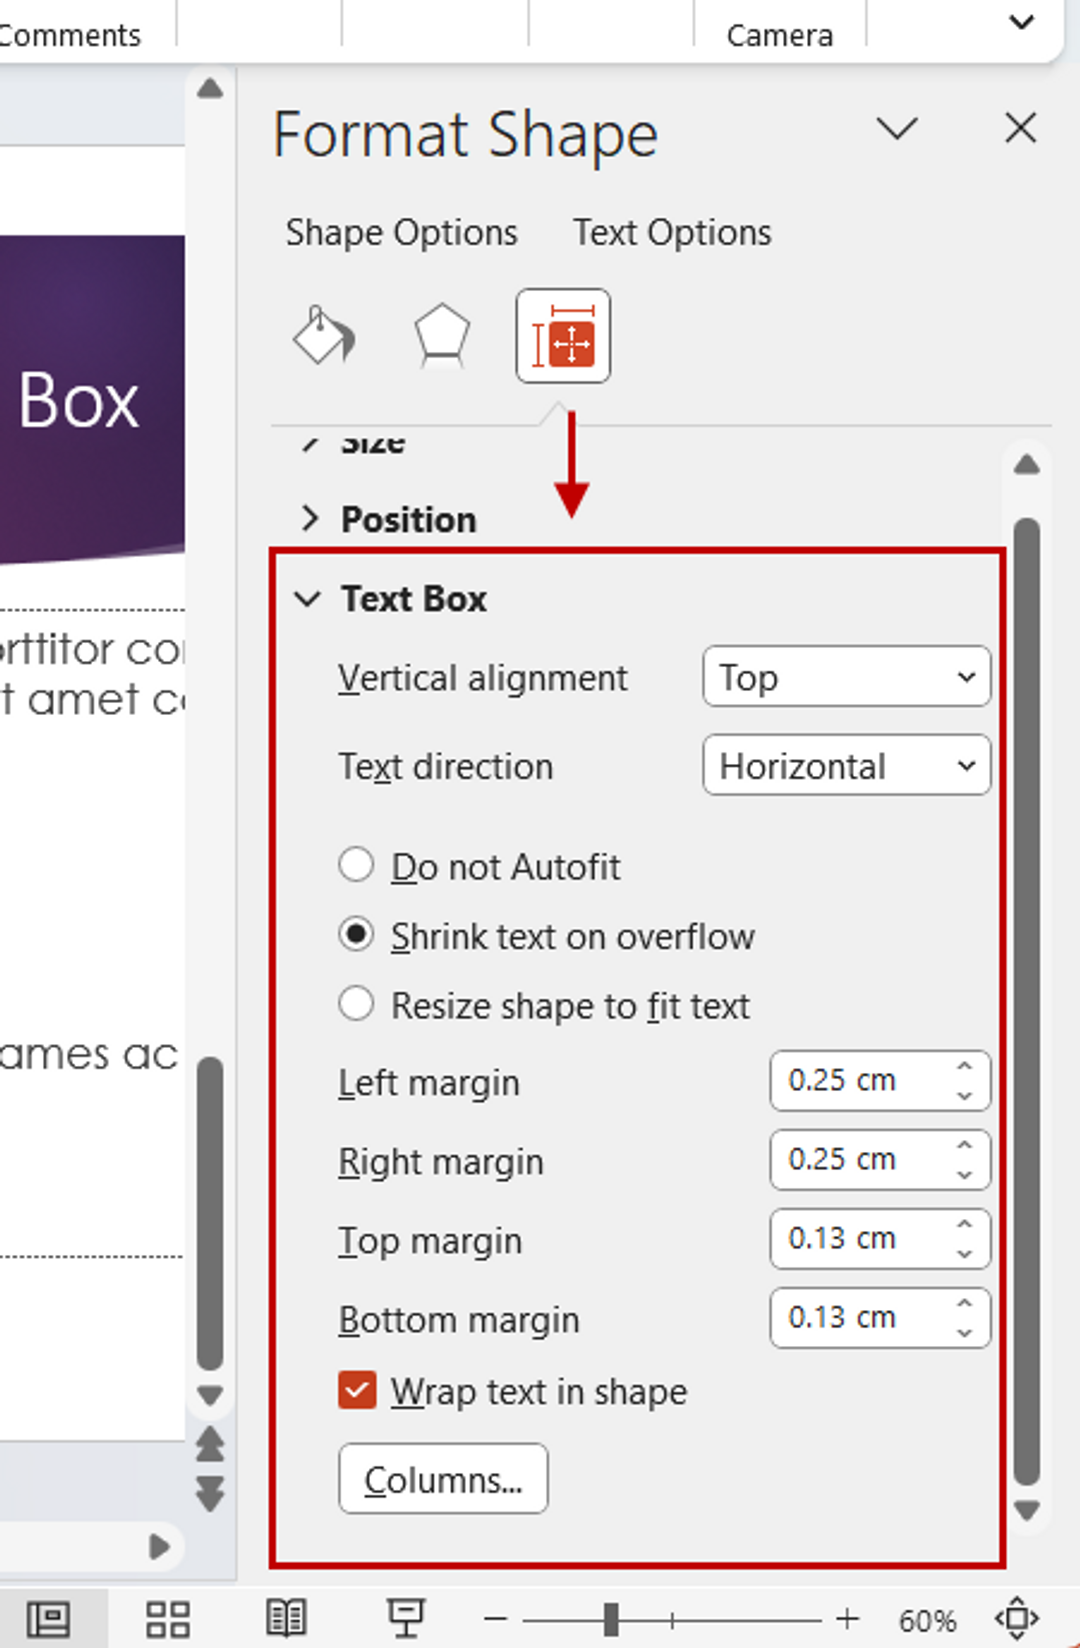
How to wrap text in a PowerPoint text box
In newer versions of PowerPoint, the Wrap text in shape option is enabled by default. You can customize how text is wrapped in PowerPoint by adjusting the settings for text boxes:
1. Insert a text box from the Insert menu.
2. Right click on the box and select Format Shape.
3. Click on the Size and Properties icon in the side panel. Under the Text Box section, you can customize a number of formatting options.

How to wrap text around an image in PowerPoint
When you insert an image in PowerPoint presentation, it might overlap your text. To fix this and wrap text around an image in PowerPoint, press Shift - ENTER to add a line break in the text box.

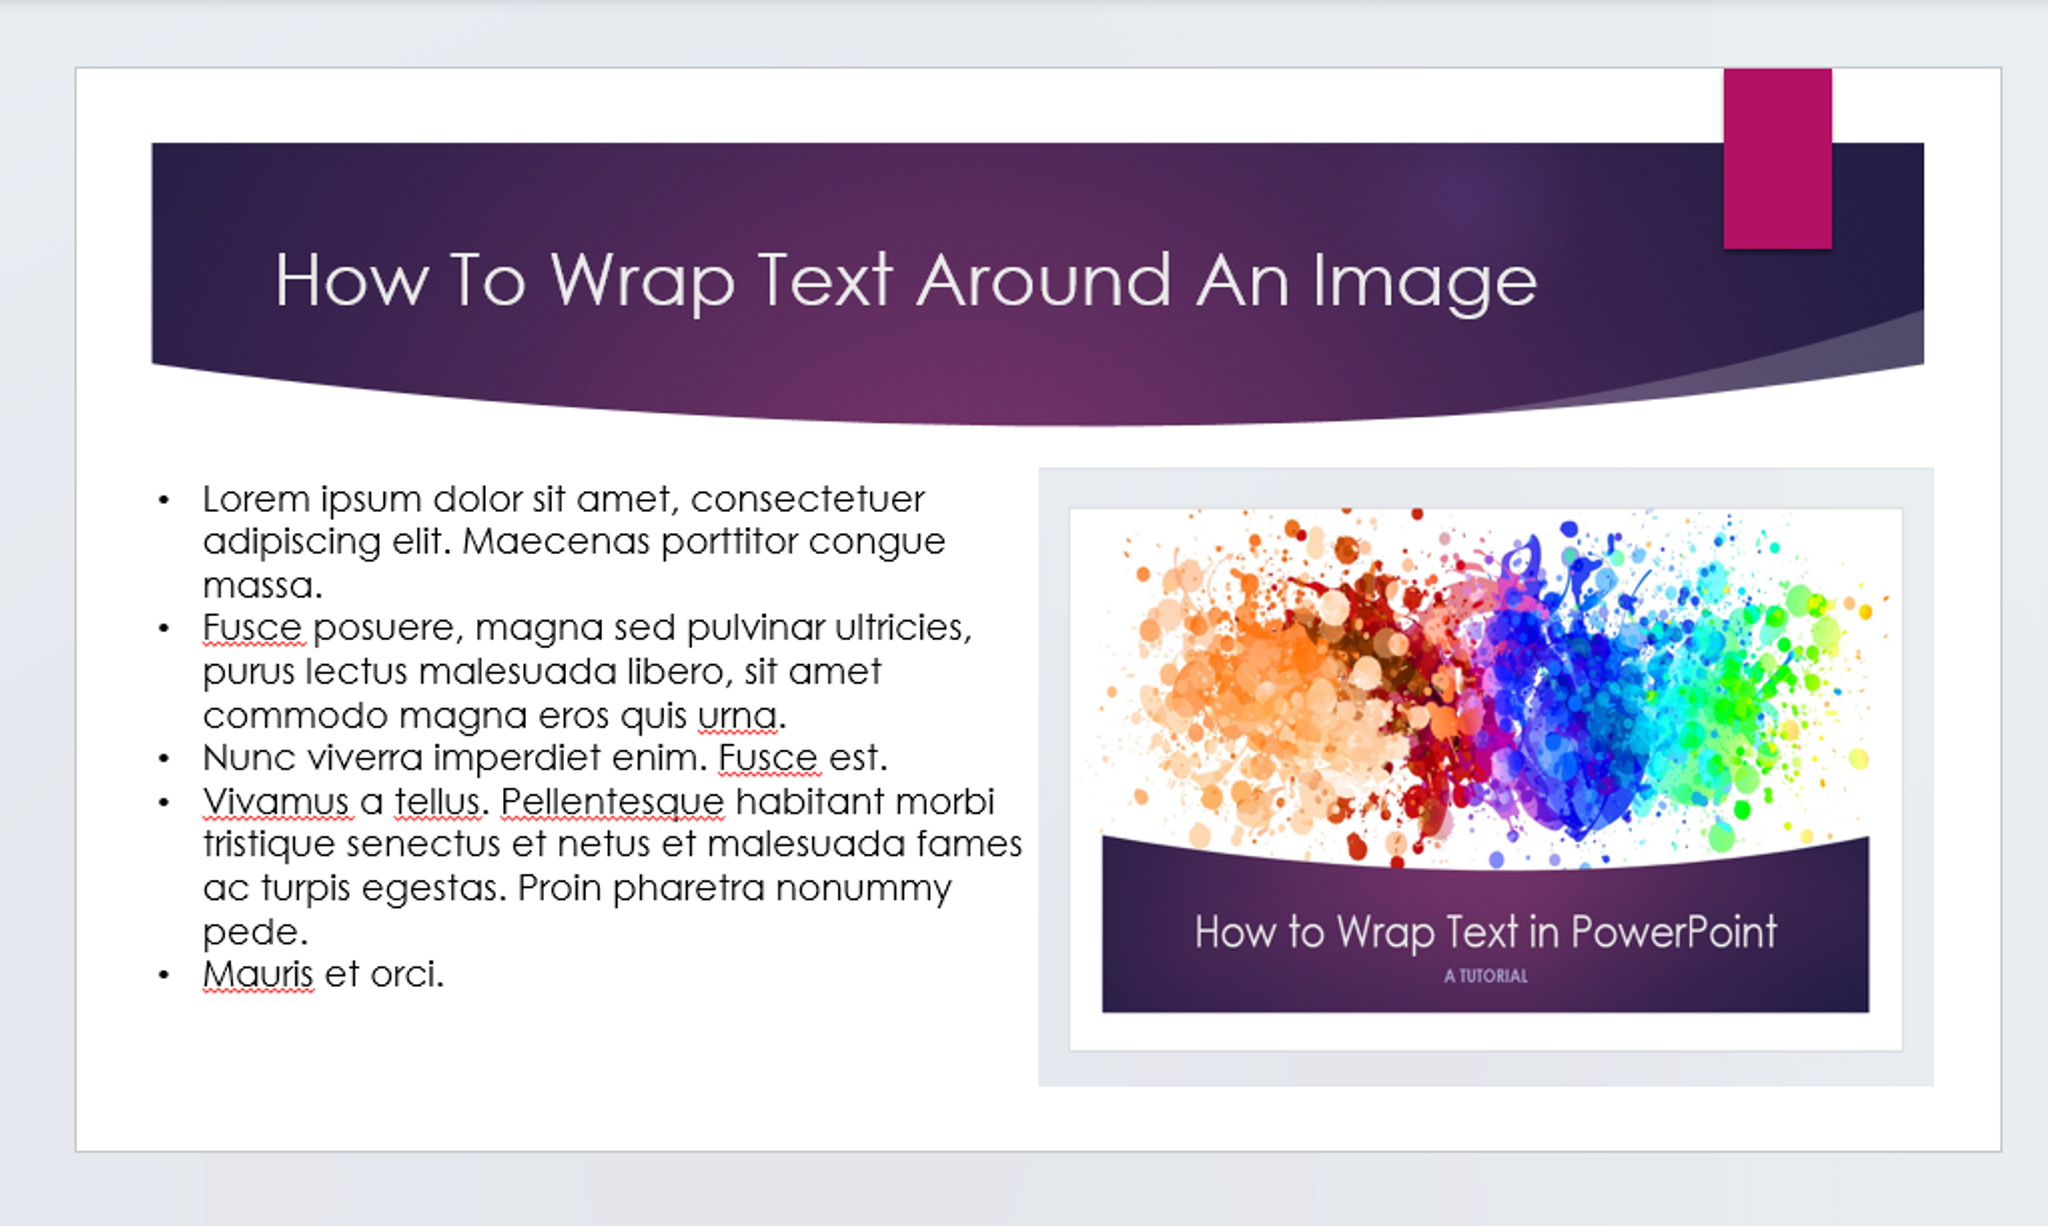
This prevents text from overlapping the image. Use this tip when you need to properly lay out images and photos with descriptions, whether it be for your research presentation in class or polishing off a digital photo album of your last vacation. If text still overlaps, press the Enter key for each new line you need.
How to wrap text in a chart in PowerPoint
If you’re pitching a business idea to a professional audience with your slides, your presentation will undoubtedly include a chart or two to visually summarize statistics, trends, or projected sales.

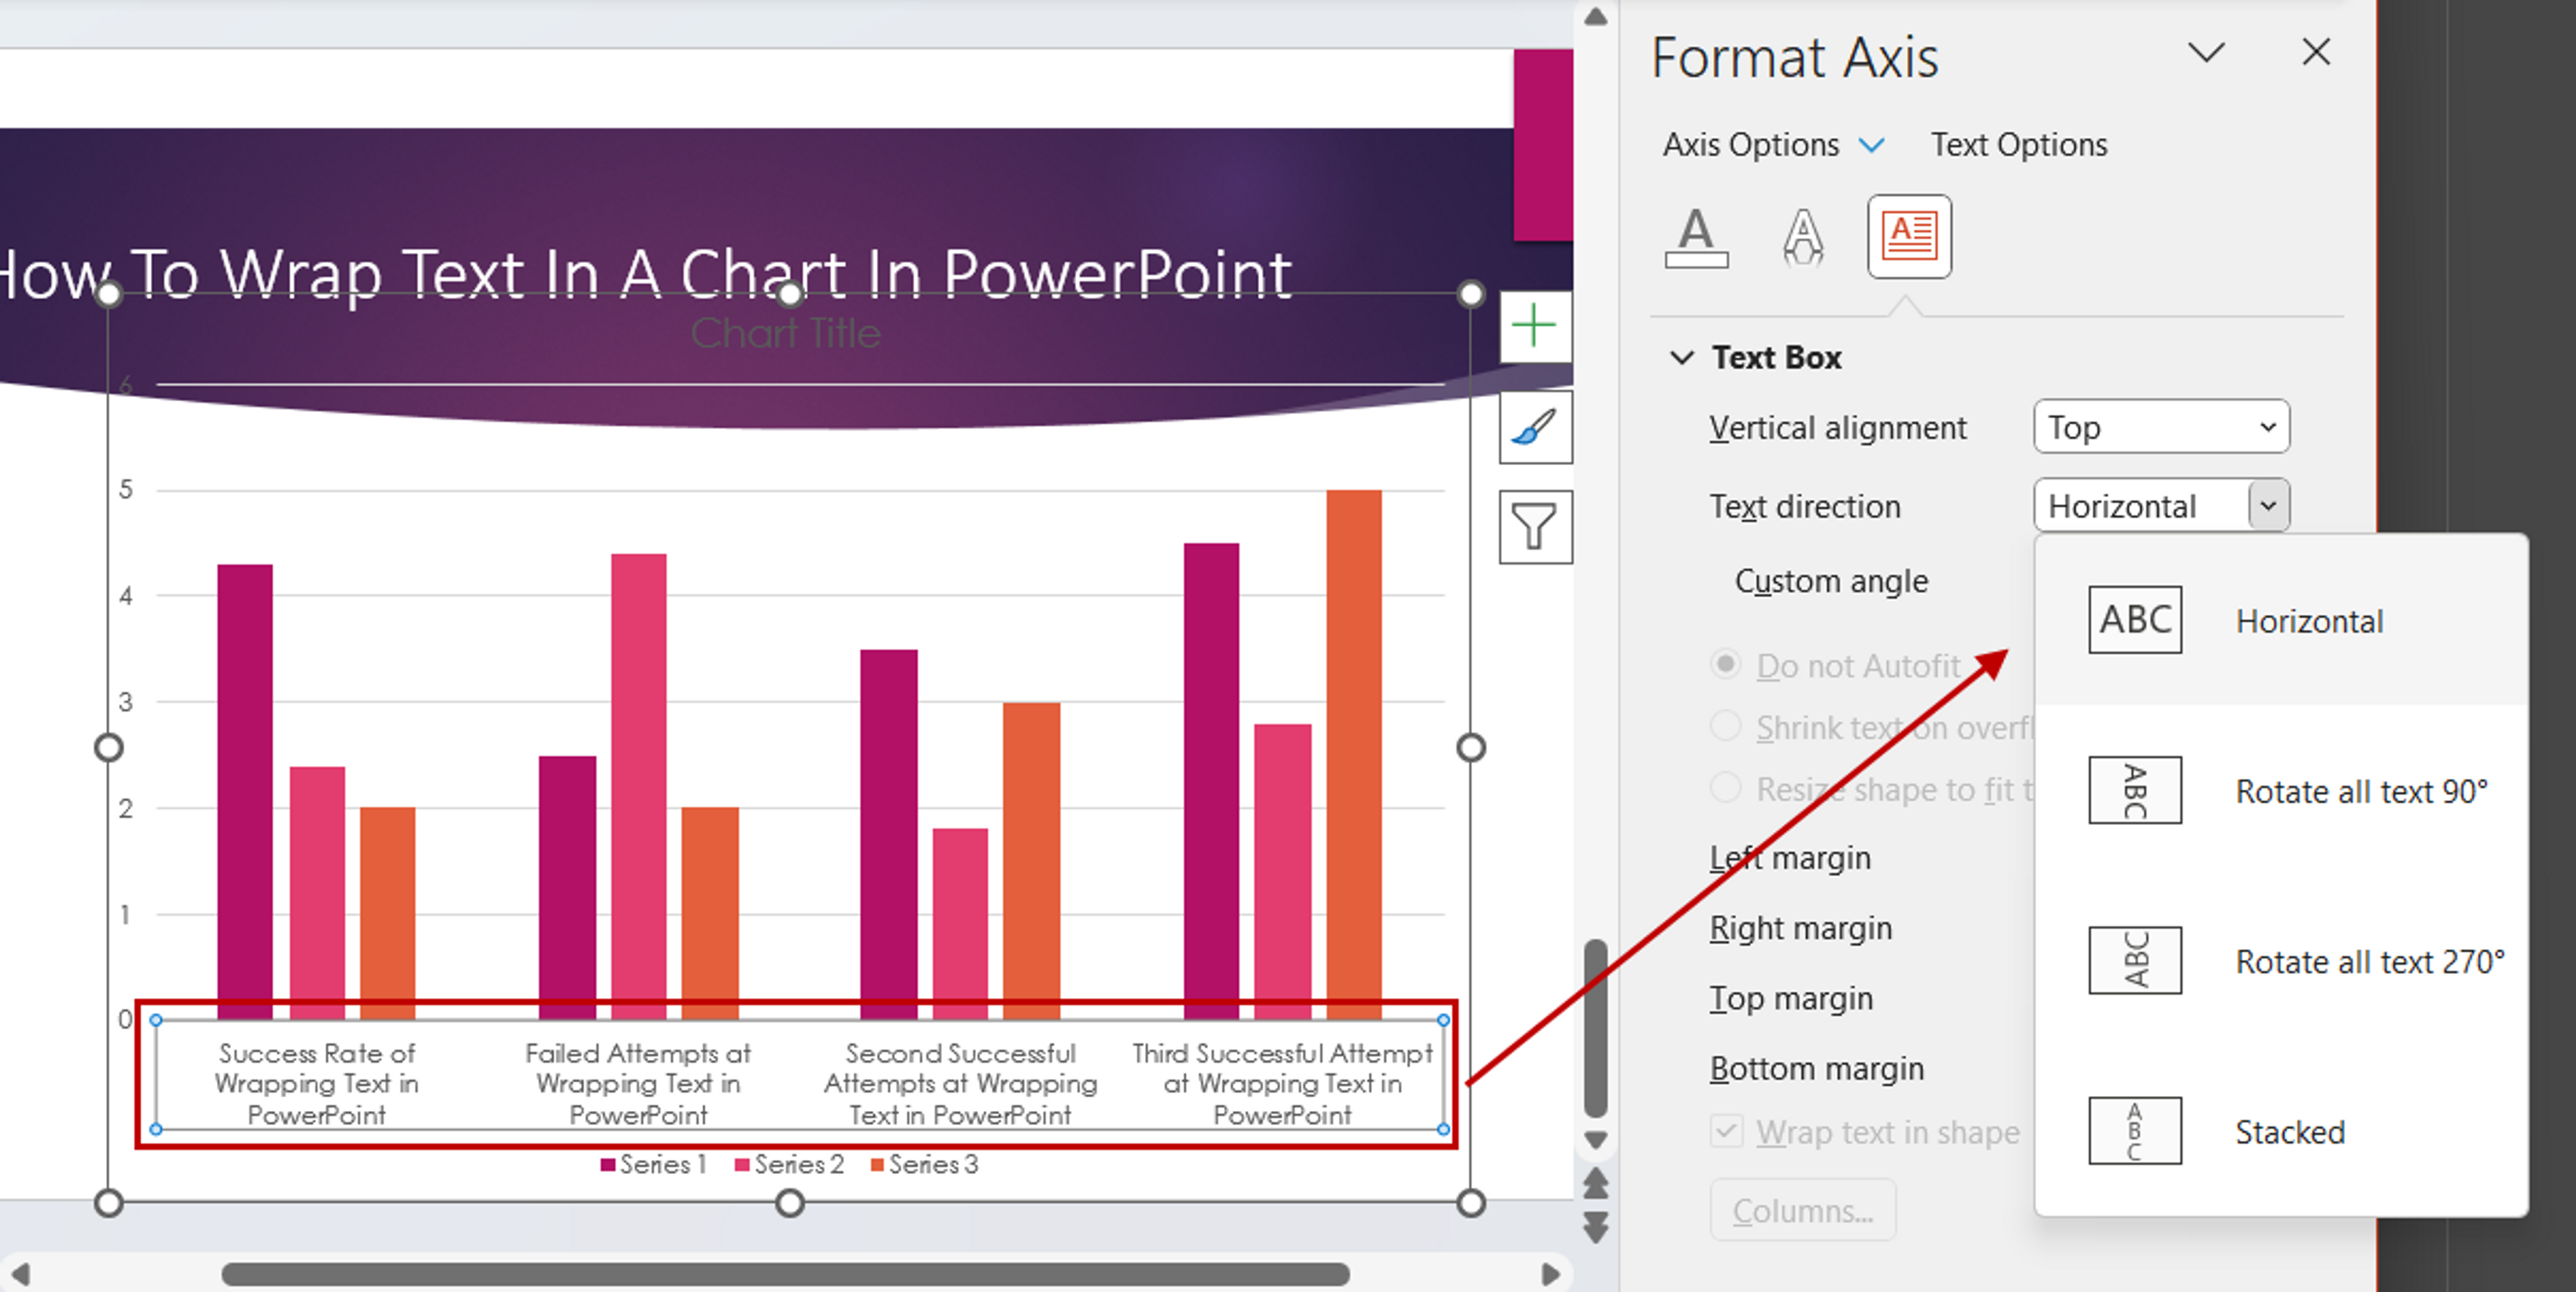
However, PowerPoint automatically wraps text on the chart. If your chart has longer text, let’s say more than 2 words, you may want to consider the orientation of the text to make it more legible.
You can change the formatting and orientation of the text by right-clicking on the label area and selecting Format Axis. In the side panel, you can optimize the text direction by going into the Text Options > Textbox sections.
Another solution is to manually create your own text boxes for each label and format the text using the tips in the above sections.
Optimize Mac presentations for Windows PowerPoint
If you want to optimize your presentation, but keep the same format, keep the following in mind:
- Use fonts that are standard on both operating systems.
- Avoid importing wrapped text from Word - it won’t work. If you need to import Word document content, don’t embed the content. Instead, use hyperlinks to link to the document.
- If you are wrapping text around images, use standard images – PNG and JPG.
- Avoid spacing text tightly because differences in font rendering may add an extra line to your text box.
Repurpose your PDF content as a PowerPoint slide deck with Xodo
Do you have an existing PDF deck and you’d like to update the content in PowerPoint? Simply convert your PDF to PowerPoint for free using Xodo. Your PDF content can easily be transferred for editing – perfect for repurposing rich PDF content into high-quality presentation.
Xodo offers more than 30 online tools that let you easily work with and manage your PDFs and documents whenever you need. Start working on your PDF slide text in full!


Related Articles


How to Insert PDF into PowerPoint
Discover the advantages of integrating PDF content into your PowerPoint presentations! Seamlessly insert PDF files, text, images, and more, directly into your slides. We’ll show you the first steps to enhancing your slide deck with compelling PDF content.
PowerPoint Tips to Supercharge Your Productivity
Getting your PowerPoint to work just right doesn’t have to be hard. If you’re struggling to work with your slide deck, we’ve got some tips to help your next presentation go smoothly. Check out our tips and transform the way you present your content.

Teaching with Technology - Top PDF Tools for Teachers
Xodo is the ultimate PDF suite of tools for teachers and students. Unlock advanced features like annotation, forms, digital signatures and more to boost student engagement and drive learning results. Check out our post as we show you how!


